Building the Ideal Quail Cage Battery: Our Setup for Maximum Health and Egg Production
Steps for building a cage system for your coturnix quail flock.
COTURNIX QUAIL
4 min read
🧺 Building the Ideal Quail Cage Battery: Our Setup for Maximum Health and Egg Production
We are firm believers in building a solid infrastructure before making any major additions to our homestead. While this philosophy has served us well over the years, we always find room for improvement. When it came to housing our coturnix quail, we worked hard to establish a system that was efficient, scalable, and easy to maintain.
This post will walk you through the steps we took to build our successful cage battery system.
Getting Started: If you are just starting your flock, be sure to reference our complete guide: Link to Quail Incubation 101.
1. Determining Your Flock Size & Housing Needs
Before investing in a system, we first determined our flock goals. These are tough questions for a beginner, and honestly, you won't know the exact answers until you get started.
How many quail are needed to provide enough eggs for two people, with enough left over to share or preserve?
How much meat and how many eggs do we ultimately want to harvest?
Regardless of the system you choose, our primary advice is this: Select a system that gives you the maximum flexibility for expansion. You will likely want to grow your flock faster than you anticipate!
2. Our Chosen Environment: Why an Indoor Hutch System?
From the onset, we worked toward an indoor hutch system for our quail. Our flock lives comfortably in an insulated $12\times 20$ outdoor shed, which also serves as our seed-starting room and tool storage area.
Climate Control: We have a propane heater for very cold days and a window air conditioner for hot summer days, ensuring a stable, comfortable environment for the birds.
Maintenance Focus: Because we are in our 60s, a major factor in our decision was the long-term maintenance and physical demands of an aviary versus a hutch system. Cages allow for simpler, less strenuous daily care.
Cleanliness: We added peel-and-stick tile to the floor for easy cleaning and have solar power for consistent lighting.
3. Addressing the Elephant: Cages vs. Aviaries
Many folks feel that a cage (hutch) is not a humane way to raise coturnix quail, believing that an aviary is a much better option. We have nothing against a good aviary, but we choose the hutch system for specific, humane, and practical reasons.
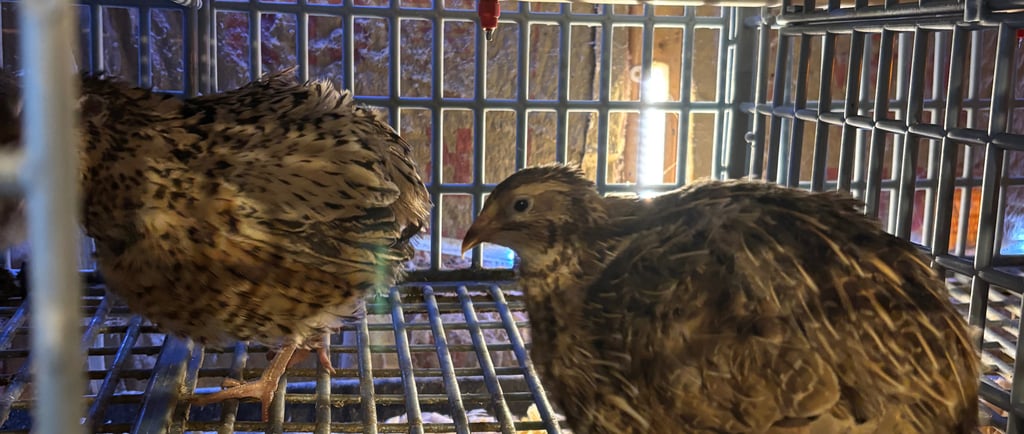
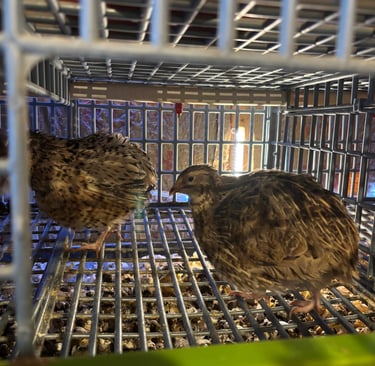
Coturnix quail are a domesticated breed that thrive in smaller, confined, community spaces, provided they are not overcrowded.
Humane Conditions: Our quail live in a humane environment with ample lighting, consistent food and water, are removed from harsh weather, and are kept very clean.
Health and Management: This closed system allows us to better manage the flock, eliminate predator issues, reduce disease transmission, and maintain a consistent ratio of males to females to avoid undue aggression.
4. DIY vs. Purchased Cages (Why We Chose Hatching Time)
Starting out, we built a great DIY hutch system, and it worked very well. However, when we began expanding and looking at overall costs, we ultimately determined that buying specialized cages was the better long-term choice.
The DIY Drawback: The main setback when building your own cages is the wire. For the floor, you need specialized, narrow-mesh hardware cloth (such as 1/4-inch by 1/2-inch mesh) and 1/2-inch by 1/2-inch mesh for the sides and roof. The cost of this wire can be prohibitive.
The Investment: When factoring in all labor and material costs, a high-quality purchased cage system, while a higher initial investment, was very close in final price.
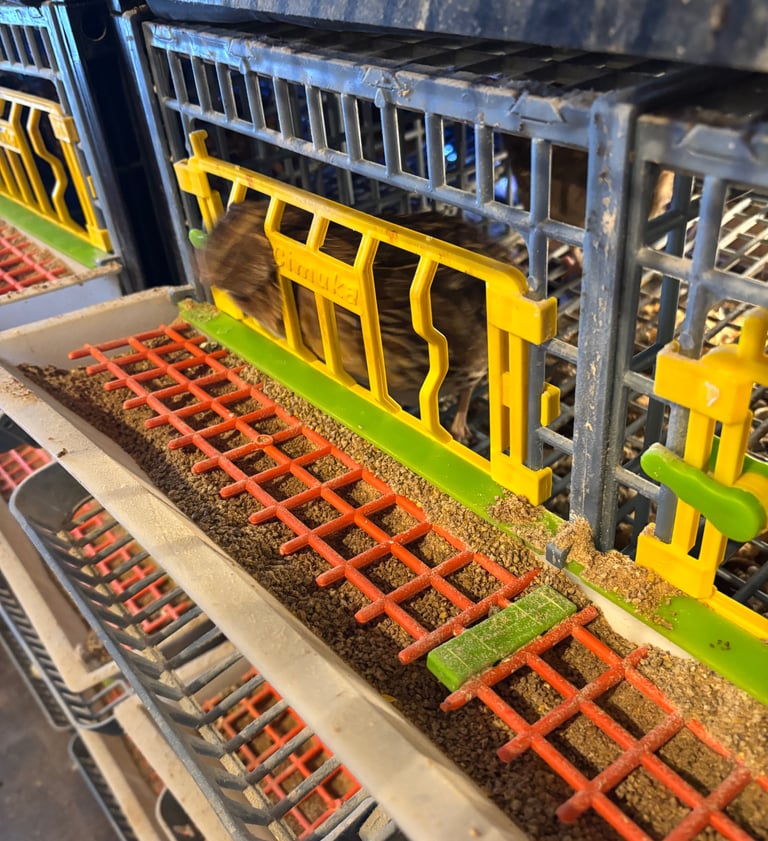
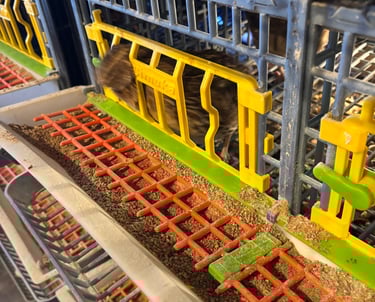
Our Choice: We shifted to Hatching Time cage batteries. This system provides spare parts that are readily available, offers easy expansion, and includes a built-in, expandable watering system.
We will do a complete in-depth review on Hatching Time cages in the very near future. We also purchased their brooder and grow-out cages to integrate perfectly into our battery system.
5. Lighting and Layout
Consistent light is key to the overall health of your birds and is essential for maximizing egg production.
Our Setup: Our lighting system uses LED strips anchored to the wall behind the hutches, plus two ceiling lights in front of the cages. We also have two windows in the room, providing a lot of natural light.
Egg Production: We keep light on our quail for at least 14 to 16 hours per day to ensure consistent and maximum egg production year-round.
Current Scale: We currently have three Hatching Time batteries, with one section dedicated as a brooder and one as a grow-out pen. We have been thrilled with this setup and highly recommend it.
6. Maintenance and Cleaning
We clean our cages on a weekly basis. All quail manure and pine shavings are collected and recycled as rich compost for our garden.
Since our floor is tile, we mop it each week with disinfectant to keep down smell and flies. While it all started with a solid plan, our system has evolved into a highly efficient production method that allows us to constantly provide meat and eggs as we work towards a self-sustaining lifestyle.
We are happy to help you in your journey. If you are interested in raising quail, please contact us anytime!