Candling Quail Eggs on Day 15: Lockdown Day
Today is lockdown day, and it's time to check which eggs are viable before the final push to hatch.
COTURNIX QUAIL
2 min read
🔦 Candling Quail Eggs on Day 15: Lockdown
It has been two weeks since you carefully placed your quail eggs into the incubator! If this is your first time, we know you have been anxiously awaiting this day.
Today is lockdown day, and it's time to check which eggs are viable before the final push to hatch. If you would like to reference our complete timeline, here is our Link to Quail Incubation 101: A Step-By-Step Guide to Hatching Success.
Phase 1: The Candling Process
Before starting, you need a high-quality candler light. We recommend the Incu-Bright Egg Candler —we have been very pleased with its results.
Preparation
Dim the Lights: Dim the lights in your incubator room as much as possible. This is not darkroom work, but low ambient light is necessary to see through the shell.
Clean and Quick: Wash your hands and prepare to move quickly. You will leave the incubator open while you work, and minimizing temperature loss is critical.
Candling (Good vs. Bad)
Remove one egg at a time and rest it on the light. You will immediately be able to determine viability:
The "Failed" Egg (Discard): If the light shines brightly through the egg, and the inside looks clear or shows only a faint, undefined shadow, the egg has failed and needs to be discarded.
The "Viable" Egg (Keep): If there is a dark, dense shadow throughout the egg (except for the air cell), this is the developing embryo, and you should keep the egg.
Tip: When in Doubt, Keep It! Because the quail embryo is so small, and by day 15 the chick fills the shell, it can be tricky to distinguish a viable egg from a failed one, especially if you haven't done this before. If you are unsure, we recommend keeping the egg.
Phase 2: Lockdown Requirements
Once you have candled and separated the eggs, it is time to move them into the final hatching phase.
Stop Turning and Lay Flat: Before placing the viable eggs back, you must remove the egg turner from your incubator and ensure the eggs are lying on a flat mesh or grate.
Stabilize Temperature: Quickly close the lid and ensure the temperature climbs back up to 99.5 degrees.
Increase Humidity: This is the most crucial step. Immediately increase your humidity to the target range of 65% to 70%. This high humidity is necessary to keep the inner membranes moist, allowing the chick to successfully push through the shell during the hatch.
Phase 3: The Final Wait (Pipping & Hatching)
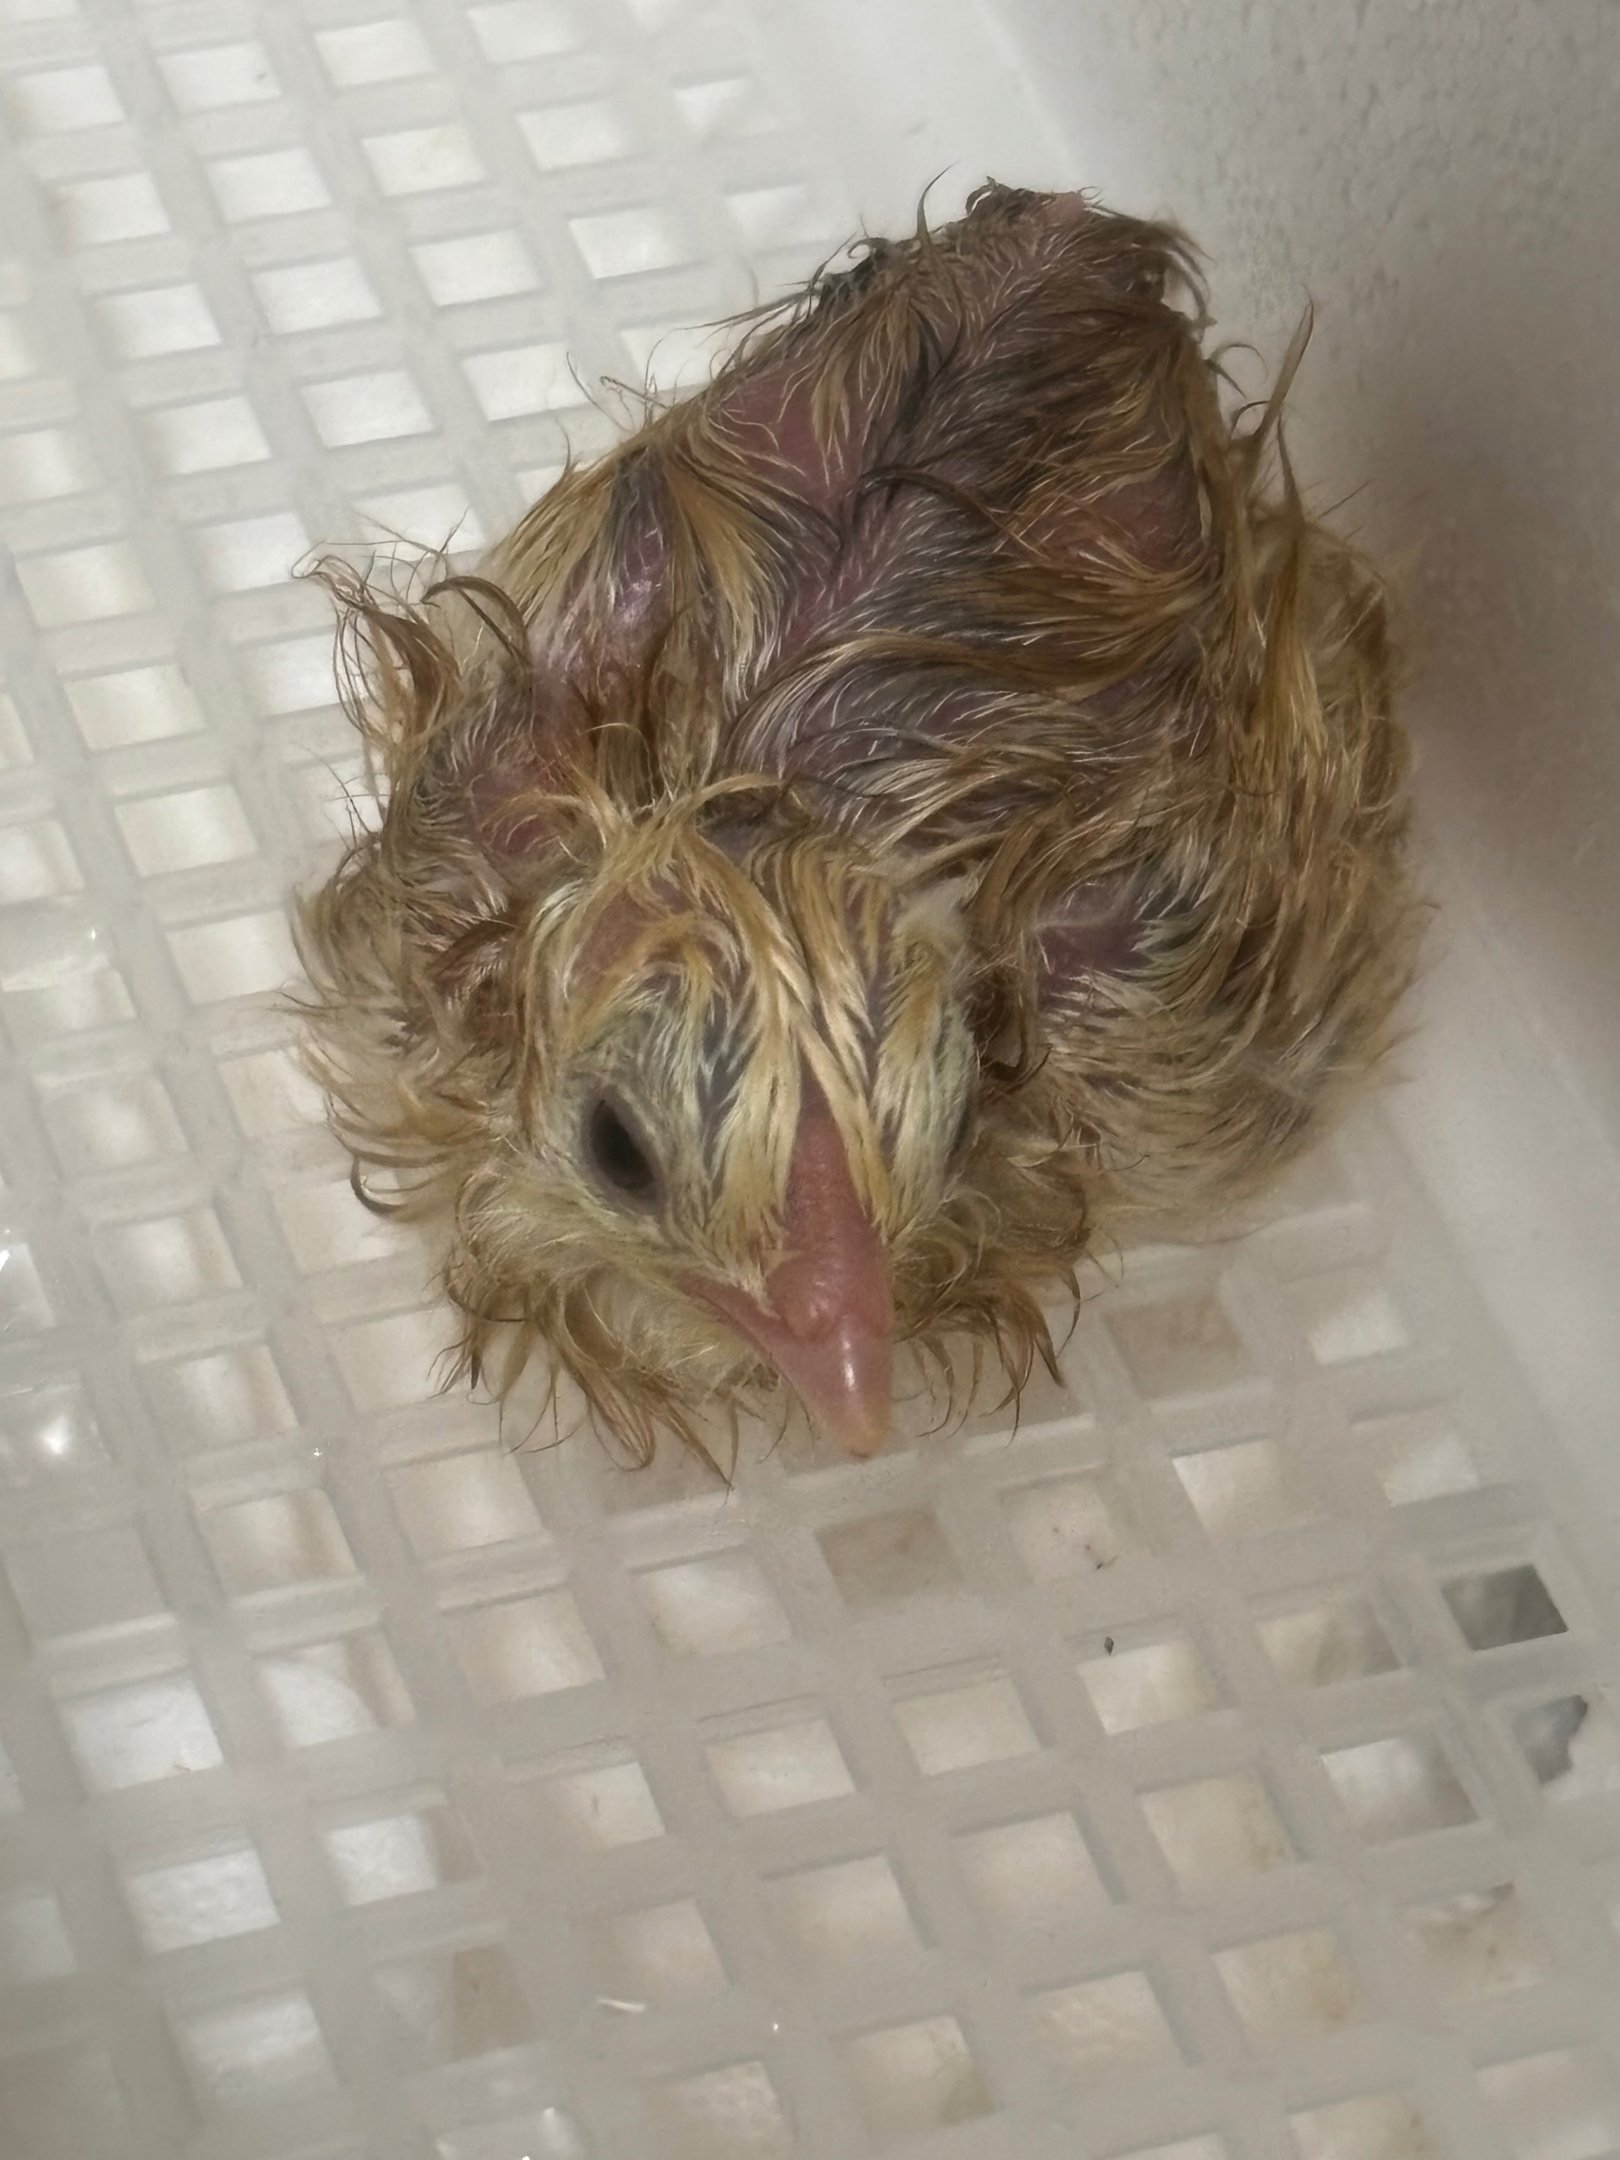
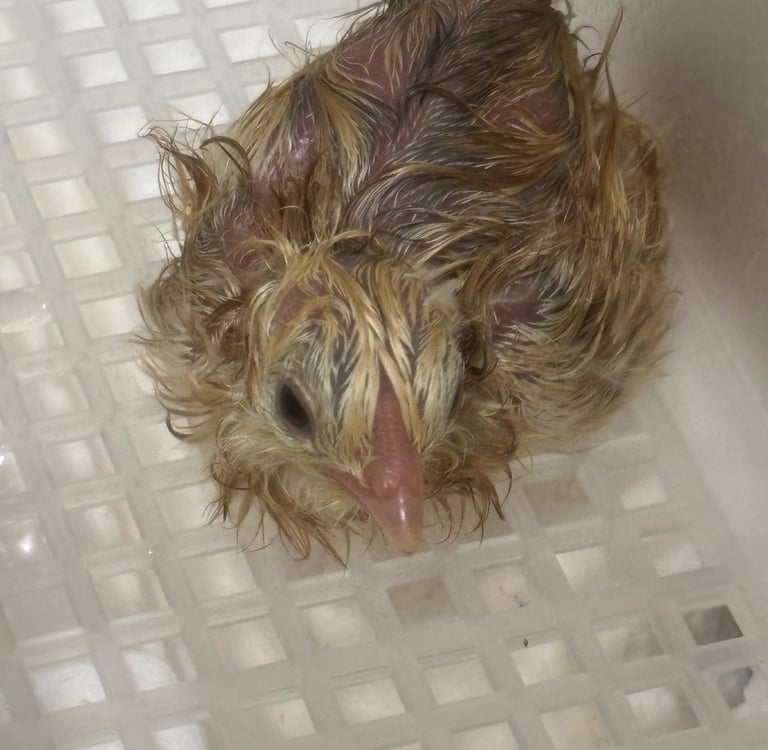
The real fun begins now! Within the next several days, you will start to see movement and the chick breaking through the shell—this is called pipping.
Do Not Intervene: It is extremely important to keep the incubator closed and the humidity stable during the hatch. You will be tempted to help struggling chicks, but our advice is to resist this urge. The strongest chicks will make it through this process on their own.
Post-Hatch: Once the chicks have hatched, they can remain in the incubator for 24 to 48 hours. Do not worry about giving them water or food during this time—they absorb the yolk sac right before hatching and will be perfectly fine for 24 hours. We rarely keep ours in the incubator longer than 24 hours unless they are visibly struggling.
Once the waiting period is over, you are ready to move your new flock to the brooder! Please reference our post on [Link to Brooding Quail Post] for a guide to successfully brooding your quail chicks.