Incubating and Hatching Coturnix Quail
Hatching Quail Eggs: Incubation Tips for High Success Rates
COTURNIX QUAIL
4 min read


Quail Incubation 101: A Step-By-Step Guide to Hatching Success
We have hatched dozens of quail on our homestead, and each time, we are amazed by the process—and just how fast we go from a small egg to a thriving chick.
If you are hatching for the first time, this process can feel overwhelming. But we can assure you that once you get past your first successful hatch, you will be well on your way to being a pro. Our first piece of advice is: don't stress! We are going to break this process down into easy-to-follow steps.
In this post, we'll walk you through the high-level, step-by-step process from setting up your incubator to celebrating the final hatch.
Phase 1: Preparation & Setting Eggs
Before starting, you will need fertile eggs. You can purchase quality hatching eggs or use eggs from your own flock.
Read More: For a detailed breakdown of these options, read our guide on [Purchasing Eggs vs. Using Your Own (Link Here)].
Incubator Setup & Stabilization
Several hours before setting your eggs, make sure you set up your incubator and let it stabilize. You want consistent readings before adding the eggs.
Temperature: Stabilize the incubator to 99.5 degrees
Humidity: Stabilize the environment to 45–50% humidity.
Preparing the Eggs
Purchased Eggs: Allow them to rest in your environment for 24 hours prior to placement in the incubator to let the air cell settle after shipping.
Homestead Eggs: You can collect your own eggs and keep them in your environment for up to 7 days before setting them.
Phase 2: Incubation (Days 1–14)
Once the eggs are set, you can relax and wait. Do not open the incubator during this time. Stability is paramount. You will be compelled to check the eggs, but resist that urge!
Maintaining Conditions
Your primary job during this phase is to maintain constant temperature and humidity:
Temperature: 99.5 degrees
Humidity: 45–50%
Tip: Monitor the water reservoir frequently, as maintaining humidity often requires consistently topping up the water to the recommended level.
Turning
The eggs need to be turned regularly to prevent the embryo from sticking to the shell membrane.
We highly recommend an incubator with an automatic turner.
If turning manually, the eggs need to be turned at least 4–6 times every 24 hours (or at least every 3 hours).
Mark Day 15 on your calendar—this is when we suggest moving into the crucial lockdown phase.
Phase 3: Lockdown (Day 15)
The lockdown phase prepares the eggs for hatching. This is a day of necessary action, so try to move as quickly and efficiently as possible to maintain temperature stability.
Optional Candling
Many folks candle eggs prior to day 15, but we believe keeping the incubator closed for stable temps is more important. As you remove the eggs for lockdown, this is the ideal time to quickly candle each egg.
Check for evidence of a chick (movement, shadows, veins) and discard any eggs that show no development.
Read More: For a more in-depth overview on the candling process and what to look for, reference our post: [Candling Quail Eggs on Day 15 (Link Here)].
The Two Critical Steps
Stop Turning and Lay Flat: Remove the eggs from the automatic turner trays and lay them flat on the incubator floor or hatching mesh.
Increase Humidity: Ensure the temperature remains at 99.5 degrees and immediately increase the humidity to the lockdown target of 65–70%.
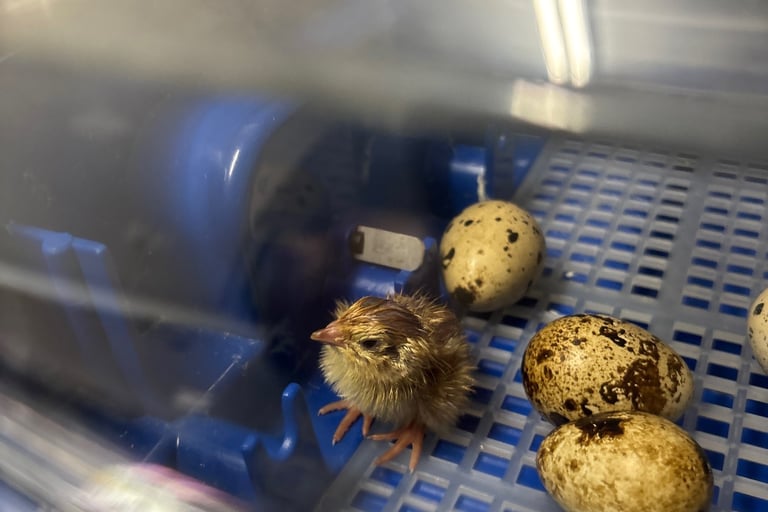
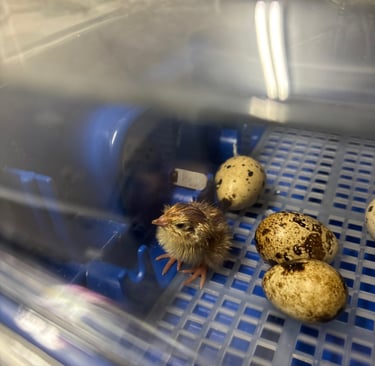
Phase 4: The Hatch (Days 16–18)
Keep your eyes on the hatch for the next several days.
Pipping & Zipping
You will soon start to see small cracks in the eggs. This is called pipping, where the chick begins to peck its way out of the shell. They will eventually "zip" around the shell until the top comes off. It is a fascinating process to watch!
The Waiting Game
The majority of your hatch should be complete by Day 18. While we have seen eggs still hatch on Day 20, don't give up after Day 18, but know that these later hatches are less common.
A word of advice: While it is difficult to watch a chick struggle to get out of its shell, we recommend resisting the urge to help it (often called 'assisting the hatch'). The chicks who hatch unassisted are often the strongest and healthiest.
Post-Hatch Care
Do not worry about providing food or water immediately. Newly hatched quail can easily survive still in the incubator for 24 hours while absorbing their yolk sac. We always move them to the brooder after 24 hours.
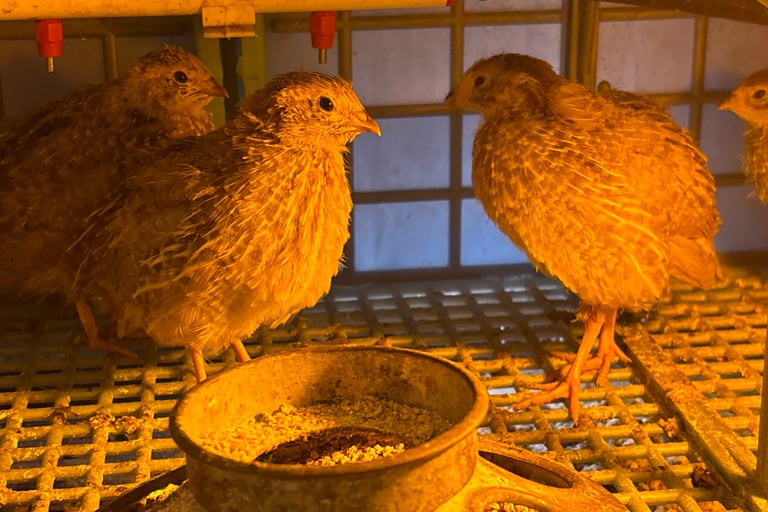
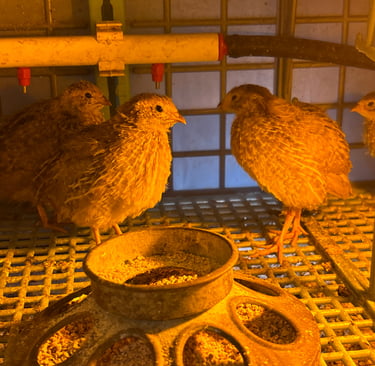
Phase 5: Moving to the Brooder
Once the quail are moved to the brooder, maintaining the correct temperature is very important for the first week.
Feed: For the first several days, we recommend grinding the starter feed down to a finer dust or powder to help them find and consume it.
Water: The most important thing for any quail, even the adults, is to ensure adequate water is available at all times.
Congratulations on your first hatch! This is such a rewarding part of raising quail on the homestead.
Read More: Please reference our guide for [Brooding Quail: First 6 Weeks (Link Here)] for a more in-depth overview of moving them to the brooder and their first few weeks of life.
If you have any questions at all please feel free to reach out.