Brooding Quail: First 6 Weeks
Your new chicks are now ready for the brooding stage, which lasts approximately six weeks. This rapid, self-sufficient growth is the true beauty of raising Coturnix Quail for meat and eggs!
COTURNIX QUAIL
3 min read
🐥 Brooding Quail: First 6 Weeks
Consider the speed of this process: from setting your egg to the day they hatch is roughly 2 weeks. Your new chicks are now ready for the brooding stage, which lasts approximately six weeks. This rapid, self-sufficient growth is the true beauty of raising Coturnix Quail for meat and eggs!
Let’s look at this critical process in detail.
1. From Incubator to Brooder: Initial Setup
Once your quail are ready to move from the incubator [Link to Quail Incubation 101], it is time to place them in the brooder. The first several days are the most critical for your new chicks.
Our Setup: We use the Hatching Time brooder, which works well for us. No matter if you are using a homemade DIY brooder with a heat lamp or a purchased system, the goal is to maintain a consistent, draft-free temperature.
2. Temperature Management (The Key is Watching the Chicks)
Temperature control is essential, but beginners often stress over the exact thermometer reading. Watch the birds—they will tell you what they need.
Target Temperature
* Week 1 (Target: 95°F): Watch the chicks! If they are huddled tightly under the heat source, they are too cold. If they are spread out and pressed against the walls, they are too hot.
* Week 2 (Target: 90°F): Gradually lower the heat 5°F per week.
* Week 3 (Target: 85°F): Continue the gradual temperature decrease.
* Week 4+ (Target: Room Temperature): Once fully feathered, they are quite hardy and no longer need supplemental heat.
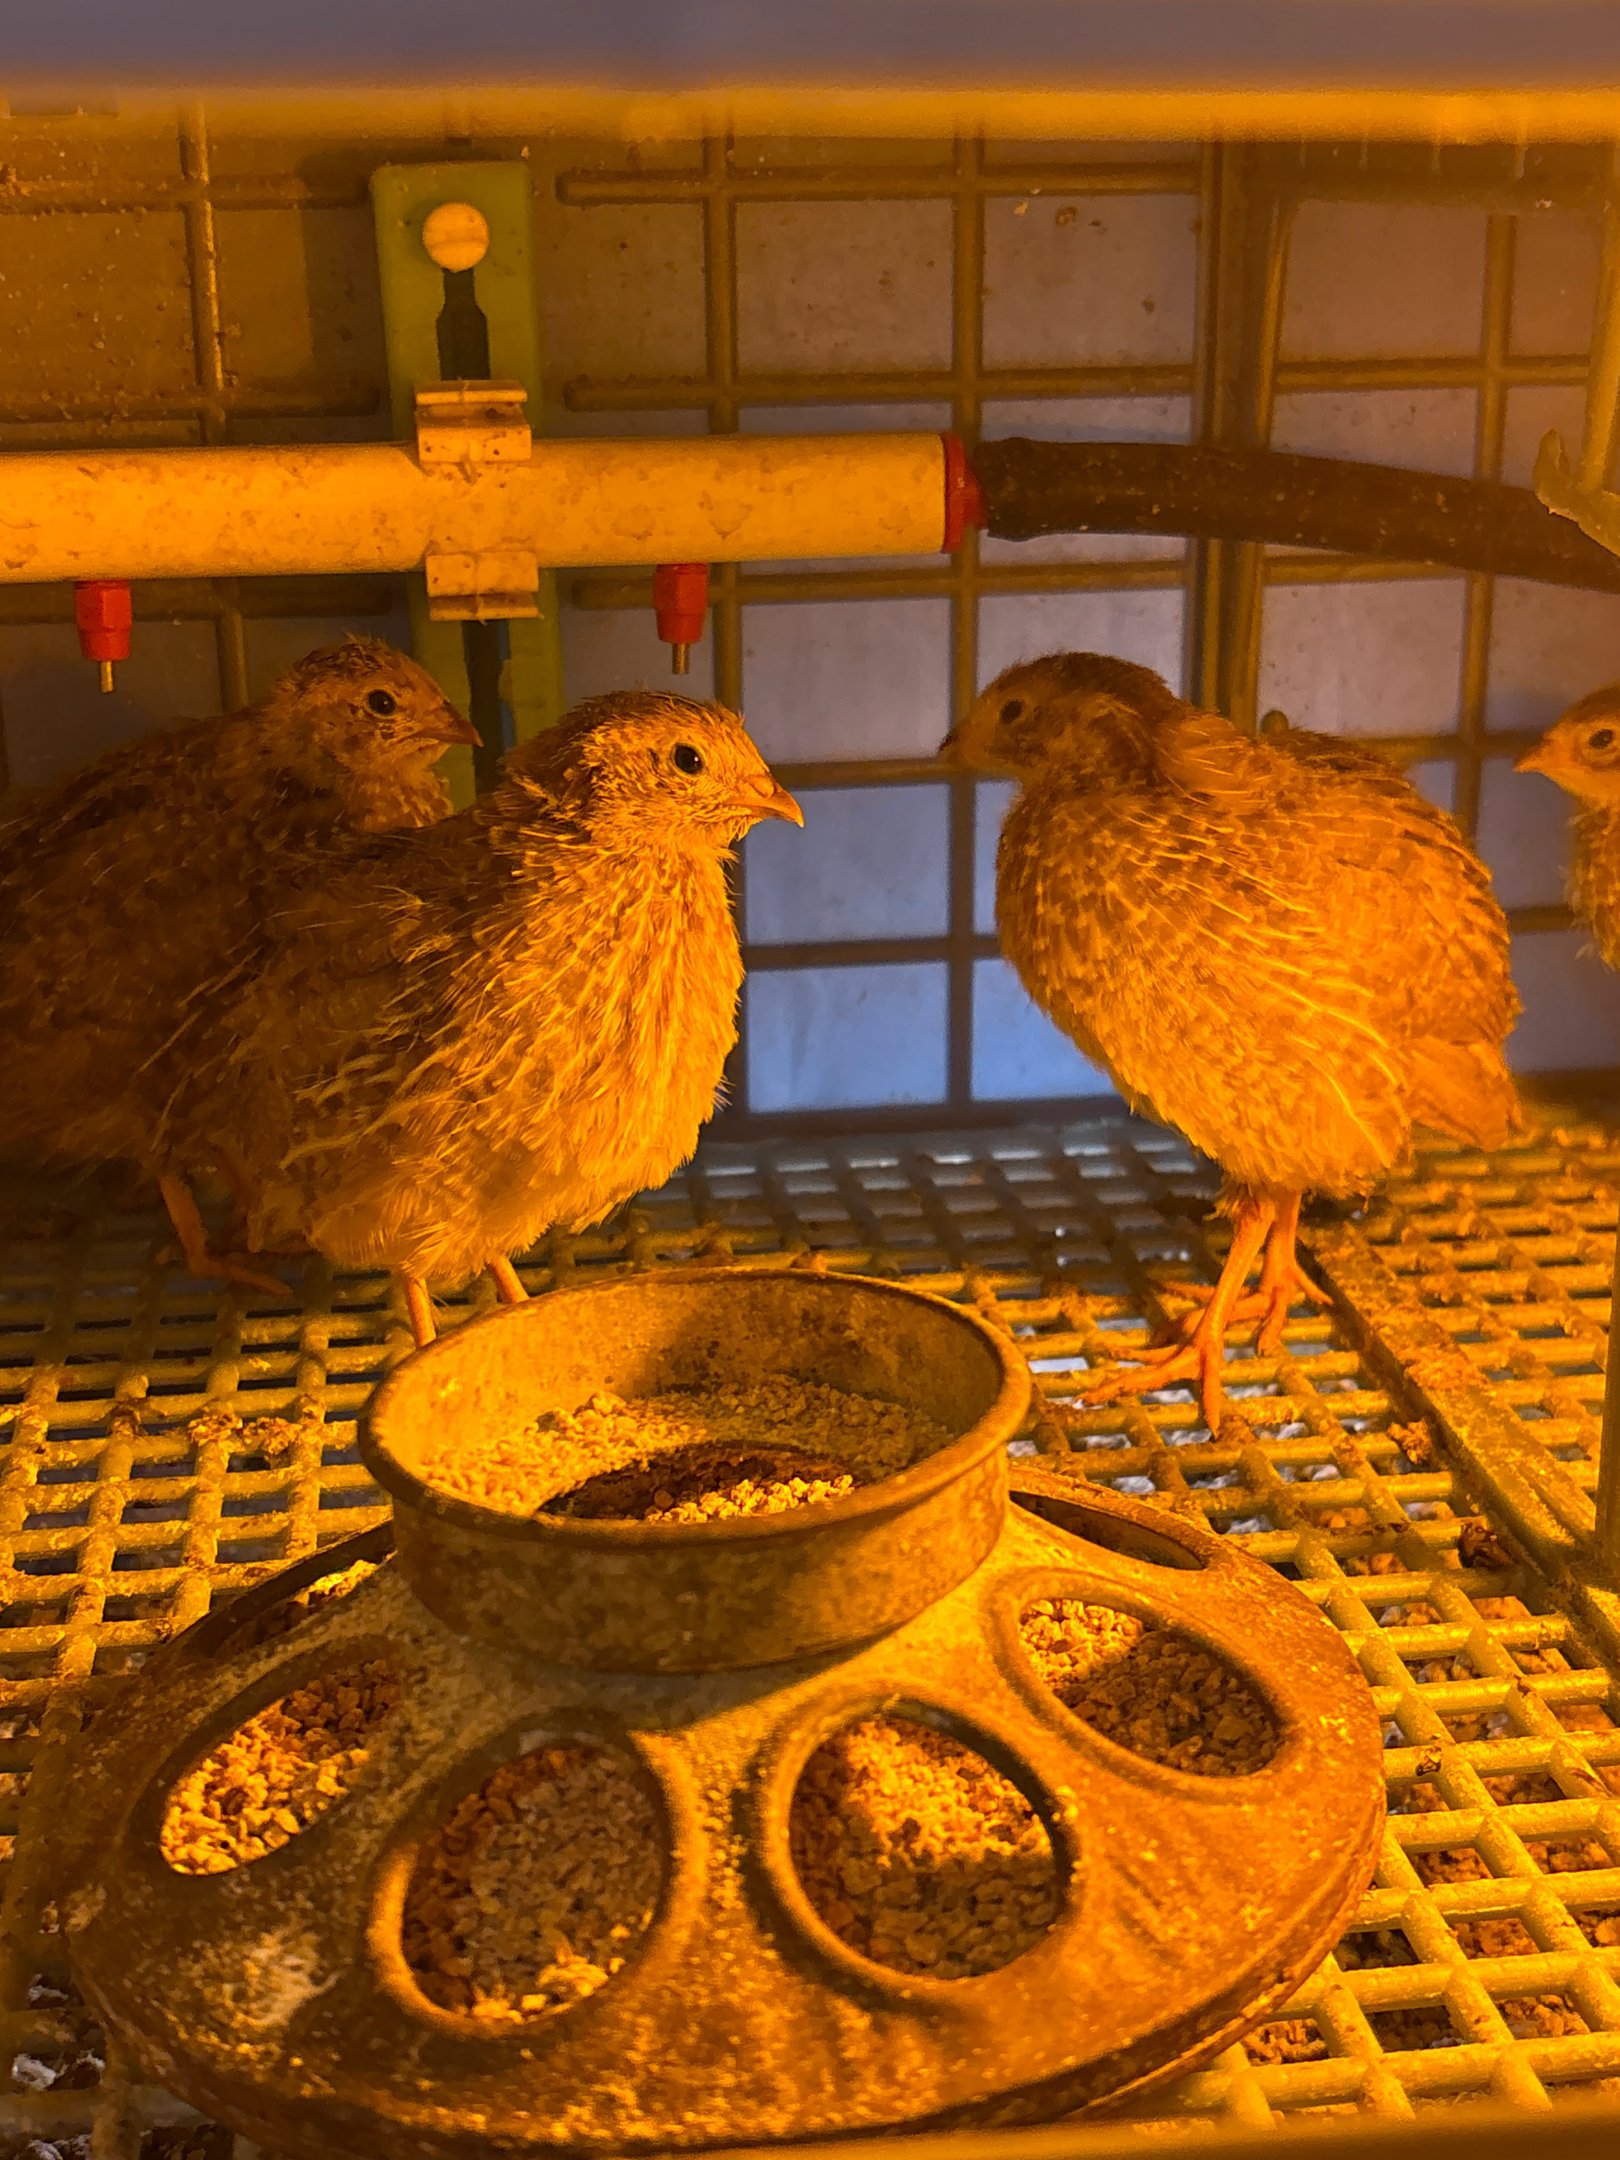
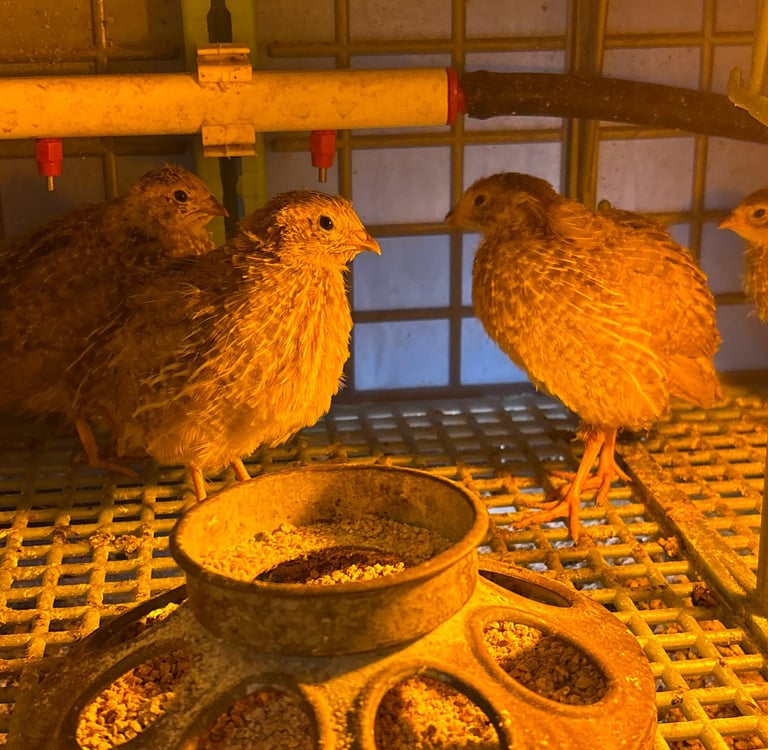
3. Feed, Water, and Litter (The First Two Weeks)
Feed
Quail require a high-protein diet for rapid growth. You will need a Gamebird Starter feed that is typically $25%to 30% protein.
Grinding: The first several days, we grind the starter feed in a food processor to ensure the crumbles are small enough for them to consume. While some feed companies say this isn't necessary, we always err on the side of caution—it takes very little time to grind a solo cup full of feed.
Water
When you first move the chicks to the brooder, gently place their beaks in the water to introduce them to the source.
Safety Tip: Make sure your waterer is very shallow. We recommend placing marbles or small, clean stones in the base of the water tray for the first few days to prevent the tiny chicks from drowning.
Litter & Hygiene
Litter Choice: For the first week to two weeks, we cover the floor of the brooder with shop towels or paper towels. This makes for an easy cleanup (just remove the dirty towel).
Safety Warning: Never use slick materials like newspaper or cardboard for the floor. This can cause their legs to slip, leading to a condition called "splayed leg."
4. Weeks 3–6: Feathering, Temperature Tapering, and Growth
By the second week, you will see rapid feathering, and they will become much more active. Coturnix quail begin feathering quickly, often by Day 5–7, and are almost fully feathered by the end of week two.
Containment: If your brooder has a top or is shallow, be cautious—they will want to try and fly out! It’s amazing to witness this energy just two weeks after hatch.
Temperature: Continue to gradually lower the temperature. Once they are fully feathered (around 3-4 weeks), they are hardy and no longer require supplemental heat.
5. Preparing for Maturity (Moving to the Hutch)
Once the quail are fully feathered and begin to mature, you can move them to a grow-out cage or hutch.
Grow-Out Cages: A grow-out cage typically has smaller holes in the wire floor to accommodate their young feet until they are ready for the final hutch. We look at their feet and if they are walking easily, they are ready to move.
Our Housing: Link to Building the Ideal Quail Cage Battery offers a look at the types of grow-out and adult cages we use on our homestead.
Sexing and Separation
At 6 or 7 weeks, the roosters will start to become active and territorial. This is the ideal time to sex your flock(determine males from females) and separate them into their permanent breeding groups.
We recommend 3 to 4 hens per rooster. With this ratio, we have had very little issues with aggressive behavior.
Continue to feed the high-protein starter feed until the hens begin laying (which can be as early as 6-7weeks). Once laying begins, transition them to a Layer Feed.
The wonderful part of raising coturnix quail is that you are from hatch to harvest or egg production in two months or less!
If you have any questions, we are here to help. Contact us anytime!